CUPS (Common Unix Printing System)
Installation and configuration for CUPS
Date : 25.08.2016
Document Version : 1.0
Table of Contents:Configure CUPS Printing3
:CUPS Web interface (Adding printers).6
:Testing printer (Print test page).9
:CUPS Integration with Samba.11
== Configure CUPS Printing ==
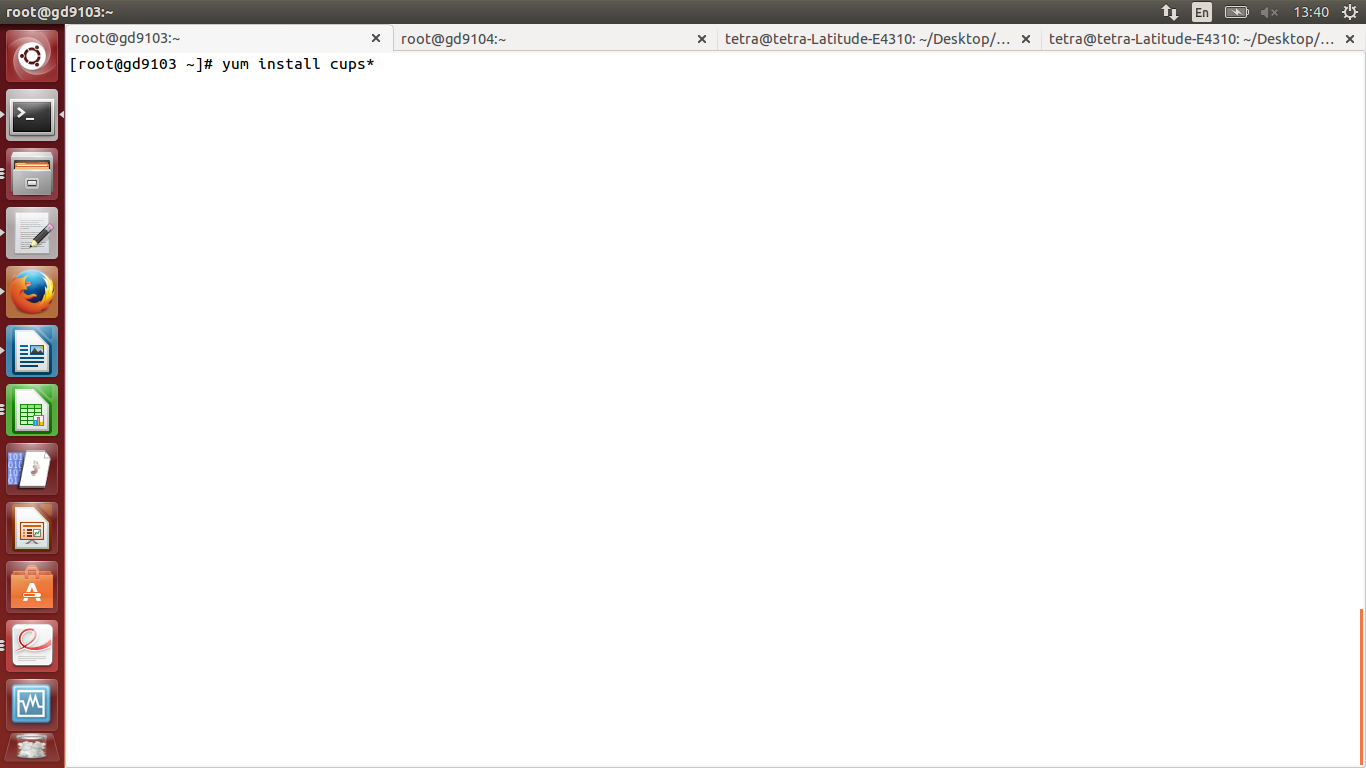
1. Login to server, using root user and install CUPS.
# yum install cups*
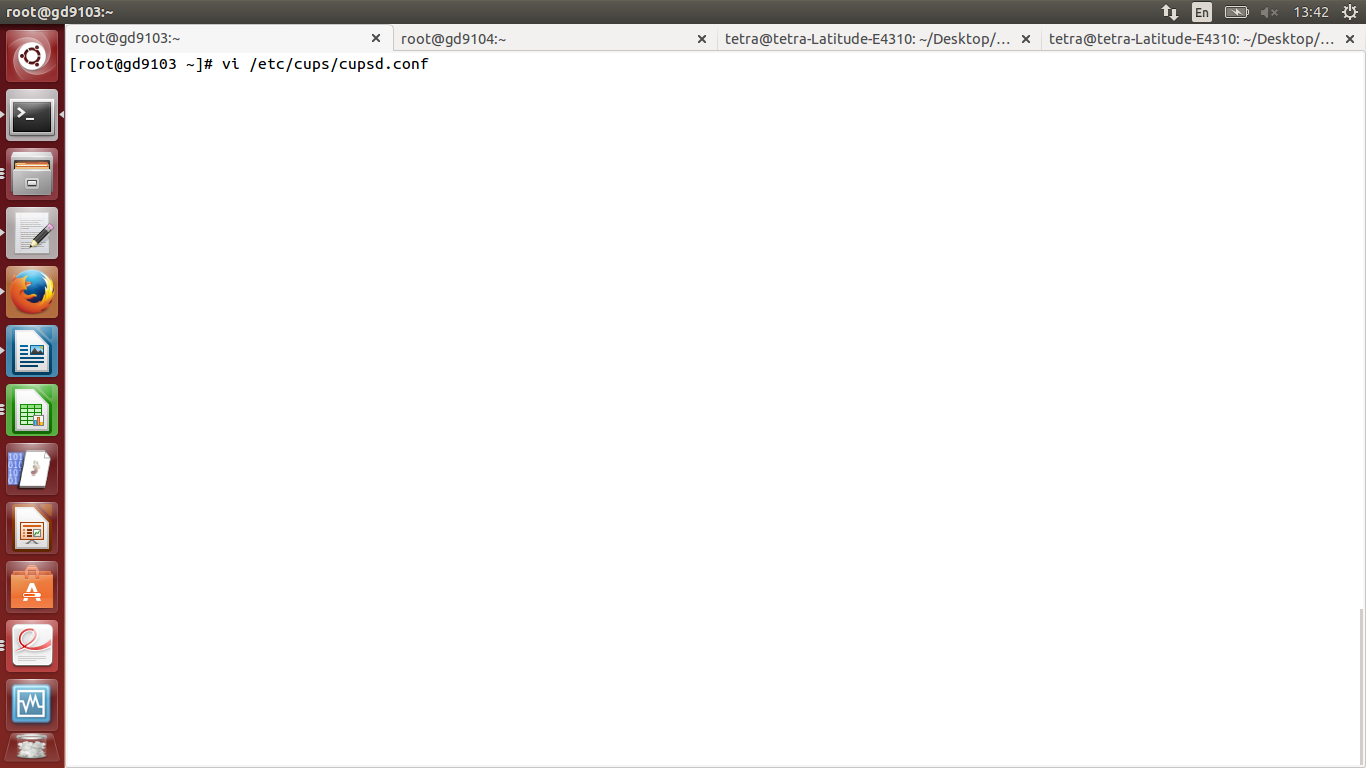
2. Edit cupsd.conf file.
# vi /etc/cups/cupsd.conf
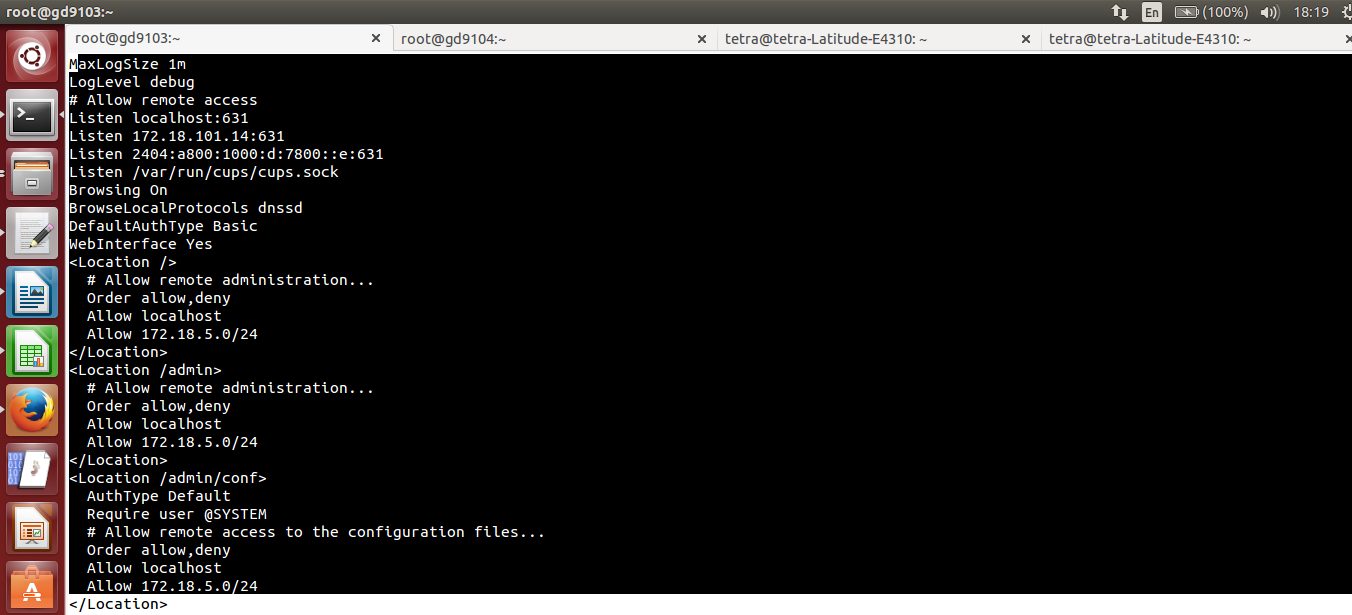
3. Make below entries and save file.
MaxLogSize 1m
LogLevel debug
# Allow remote access
Listen localhost:631
Listen 172.18.101.14:631
Listen 2404:a800:1000:d:7800::e:631
Listen /var/run/cups/cups.sock
Browsing On
BrowseLocalProtocols dnssd
DefaultAuthType Basic
WebInterface Yes
<Location />
# Allow remote administration...
Order allow,deny
Allow localhost
Allow 172.18.5.0/24
</Location>
<Location /admin>
# Allow remote administration...
Order allow,deny
Allow localhost
Allow 172.18.5.0/24
</Location>
<Location /admin/conf>
AuthType Default
Require user @SYSTEM
# Allow remote access to the configuration files...
Order allow,deny
Allow localhost
Allow 172.18.5.0/24
4. Restart cups service.
# systemctl restart cups.service
== CUPS Web interface (Adding printers). ==
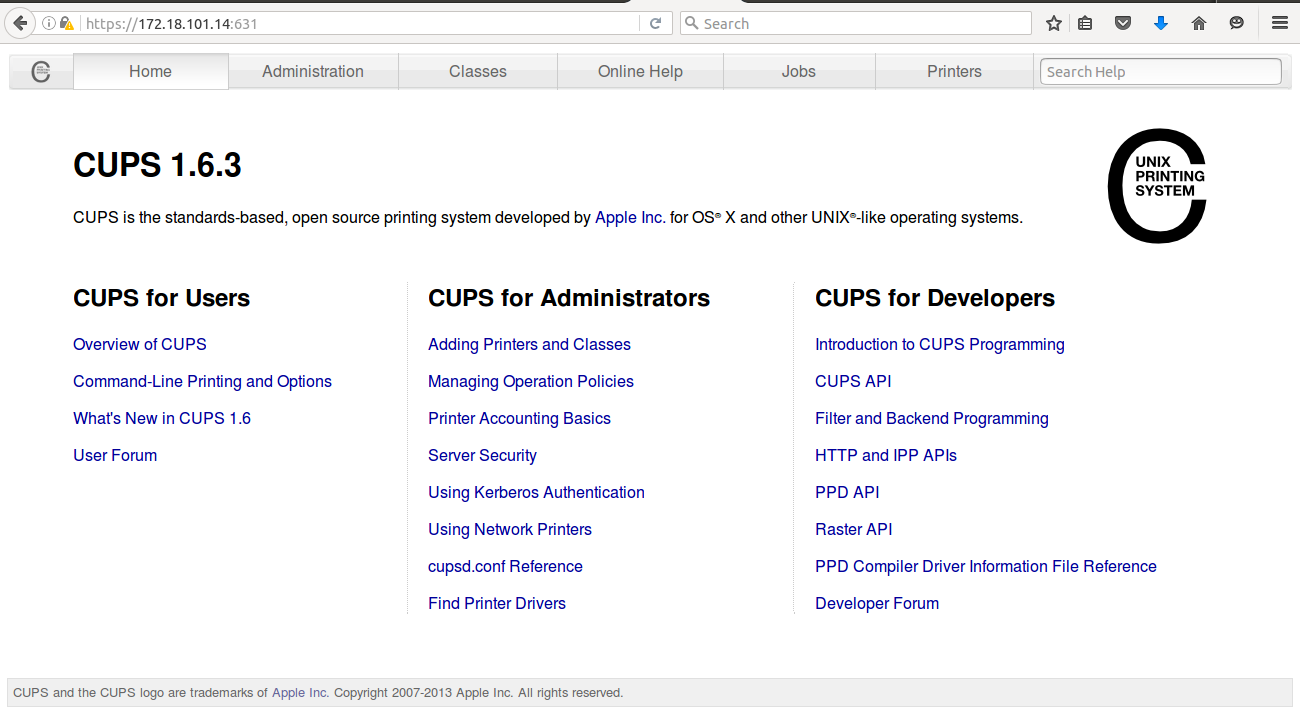
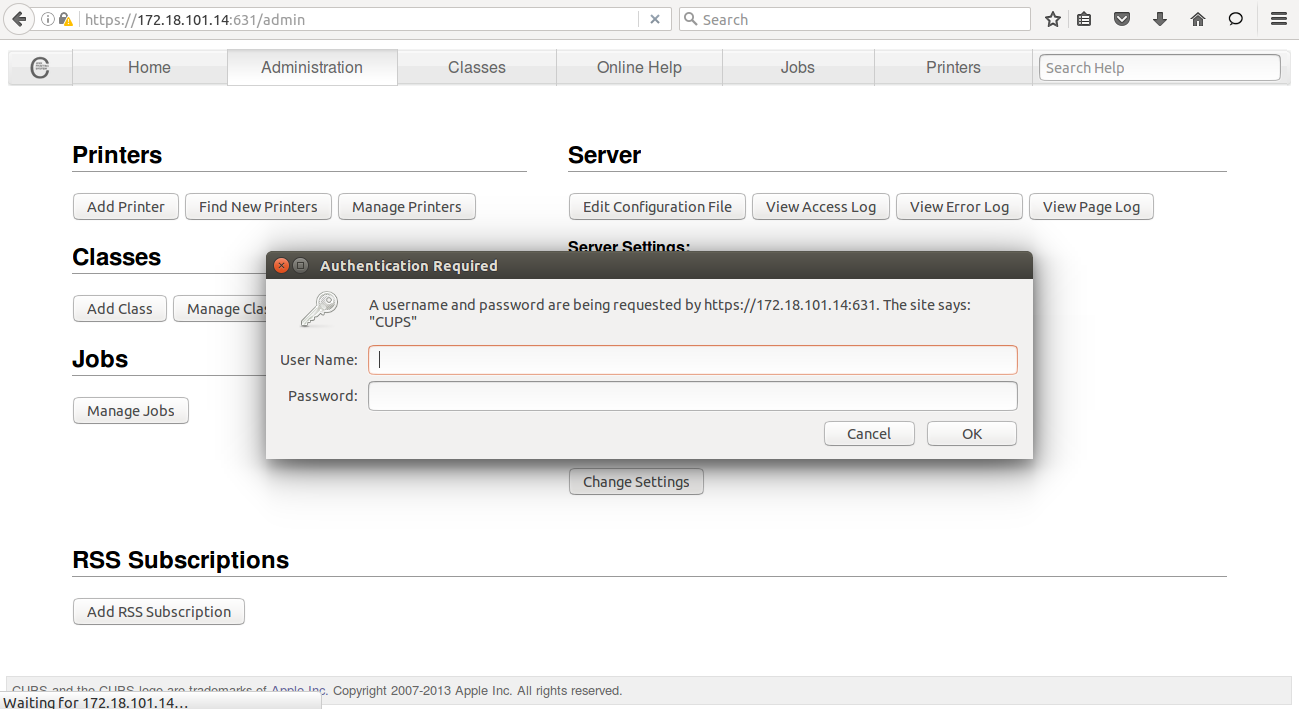
From here we can add and manage printers. to add a new printer click “Administration”.
2. Click and “Add Printer” and type root username and password of the cups server:
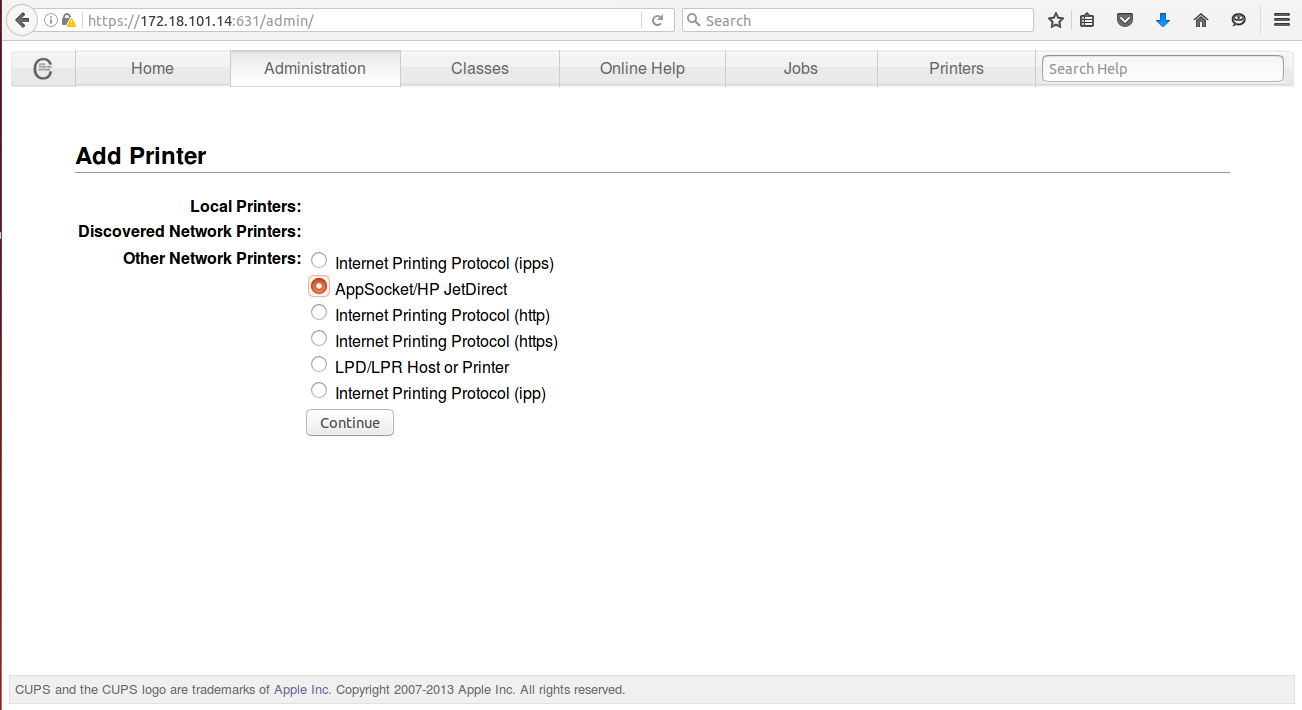
3. Select “AppSocket/HP JetDirect” (here i have Hp Laserjet Pro m202dw printers) and click Continue.
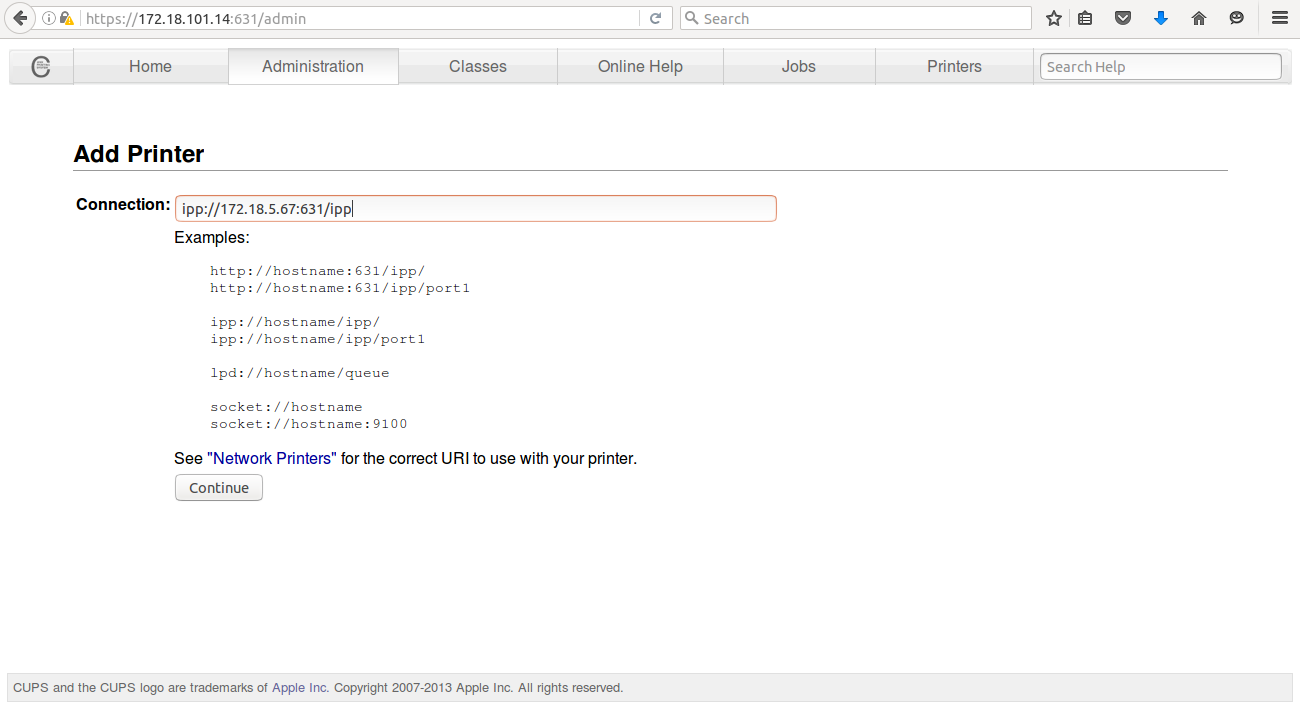
4. In connection tab type the ipp://172.18.5.67:631/ipp (172.18.5.67 is printer IP) and click Continue.
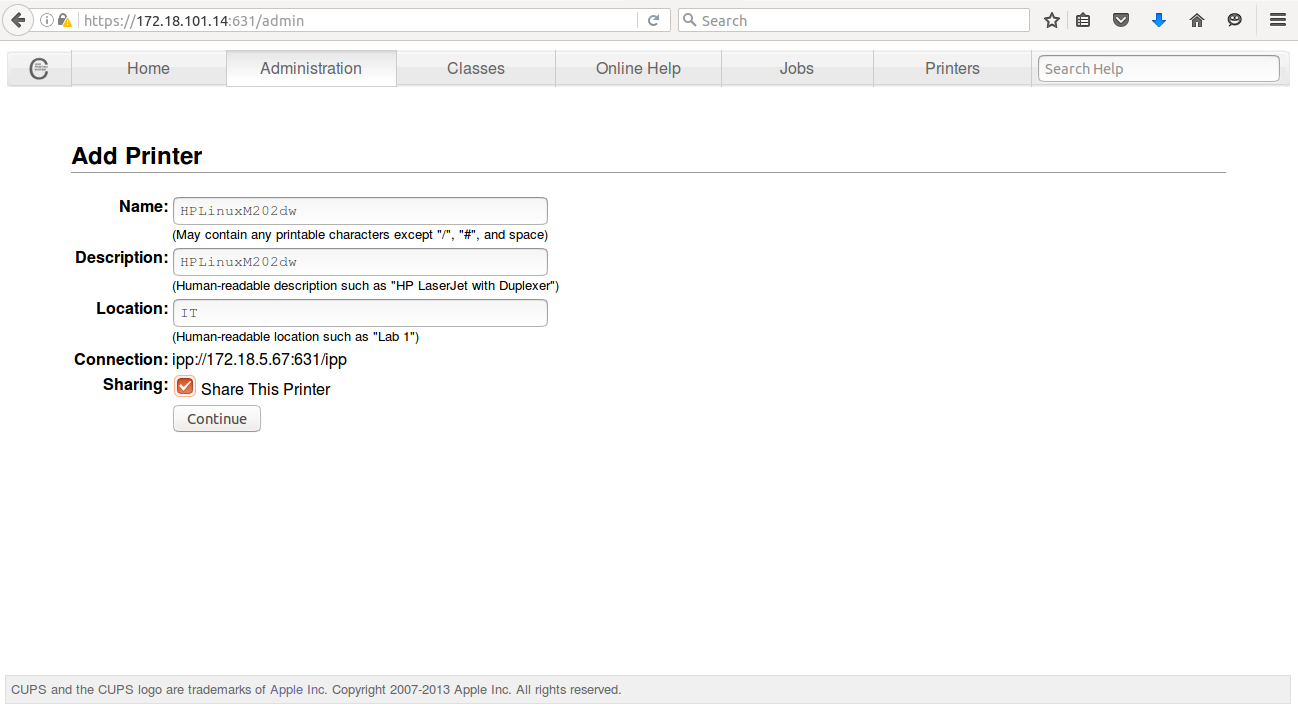
5. Fill the required information and click on “Share This Printer “ and click on “Continue”.
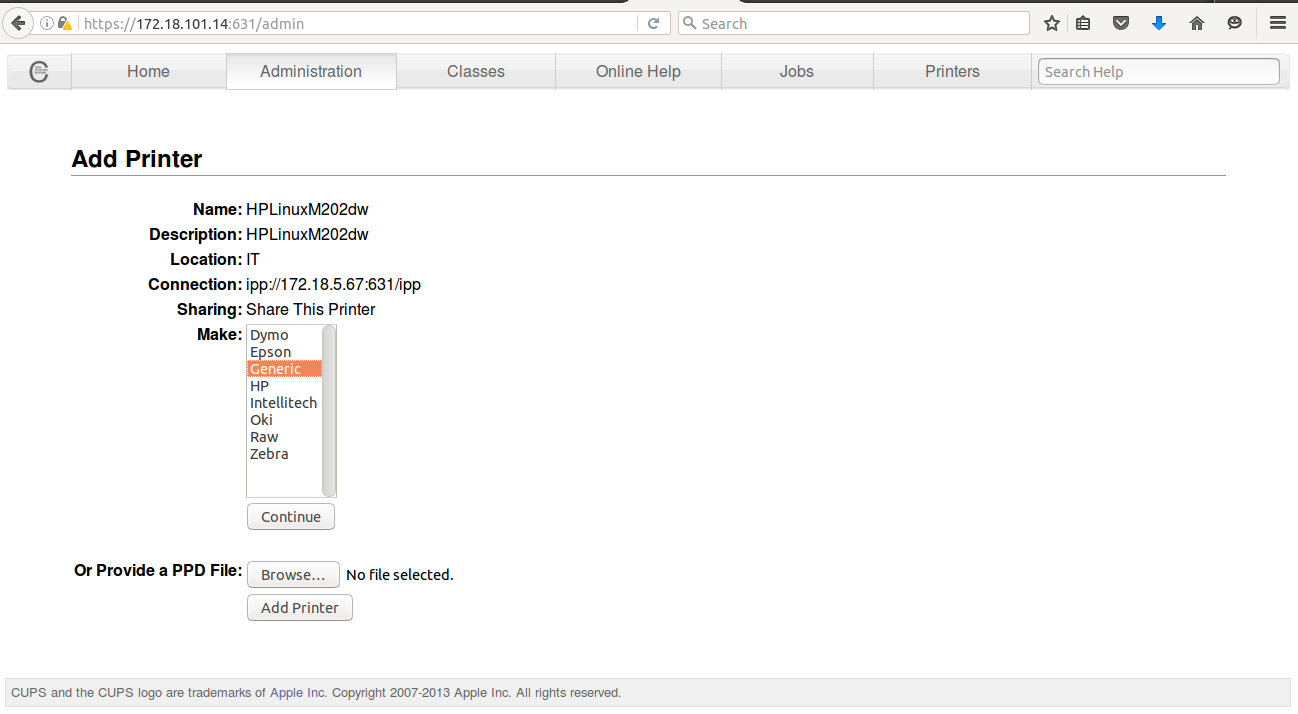
6. Select the “Generic” print driver and click on “continue”.
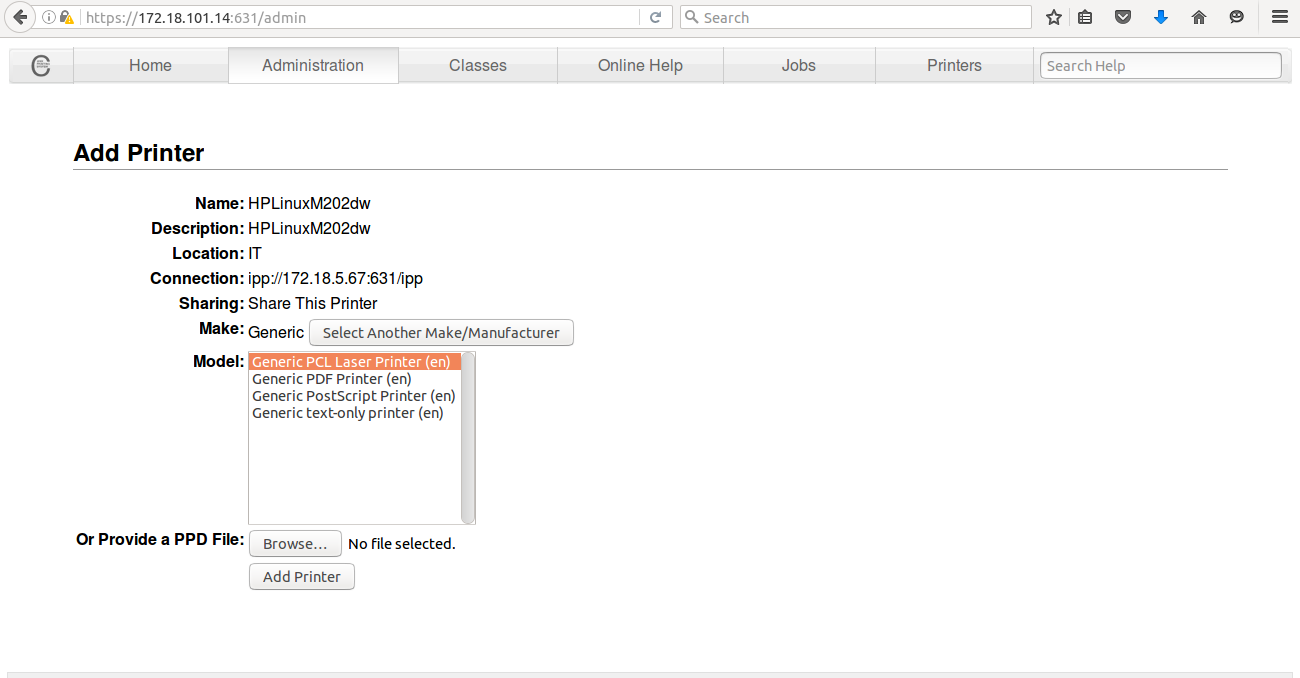
7. Select the model “Generic PCL Laser Printer(en)” and click on “Add Printer”.
Now printer configuration has been done.
== Testing printer (Print test page). ==
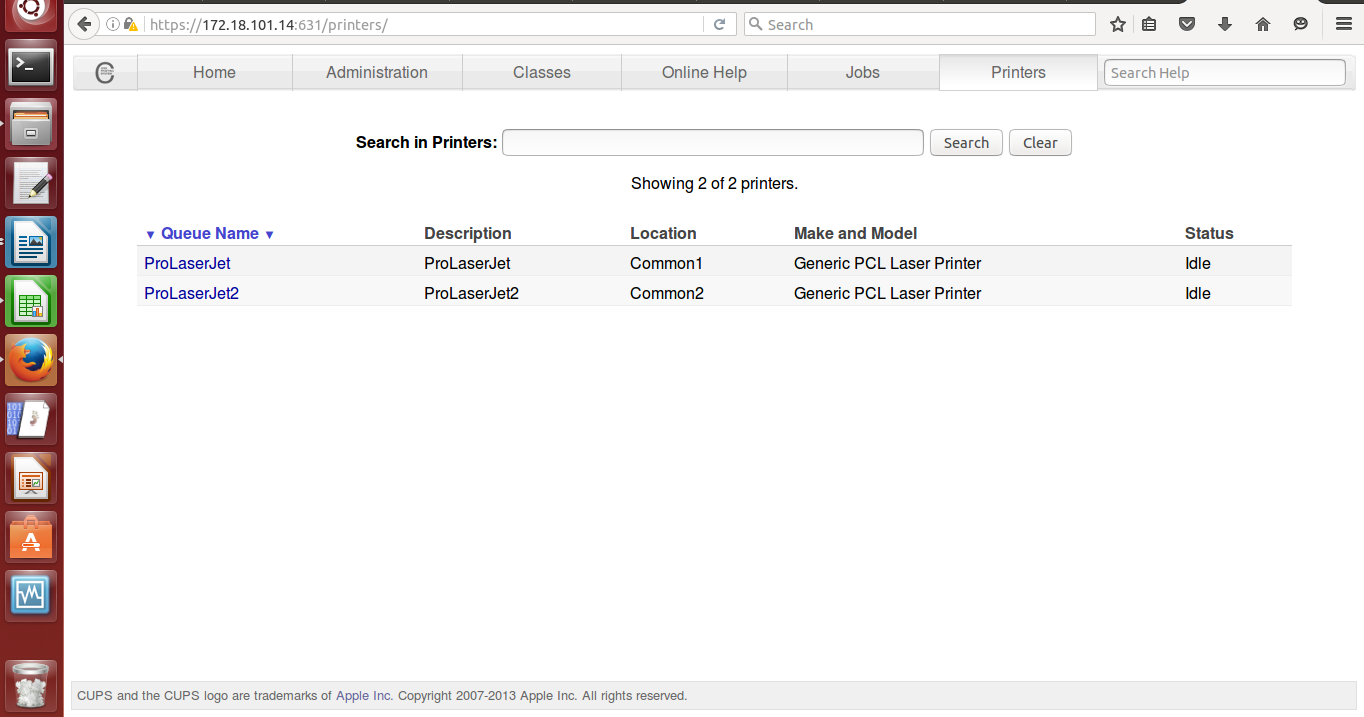
1. Click on “Printers” tab. Here we can see the installed printers click on printer which we want to test.
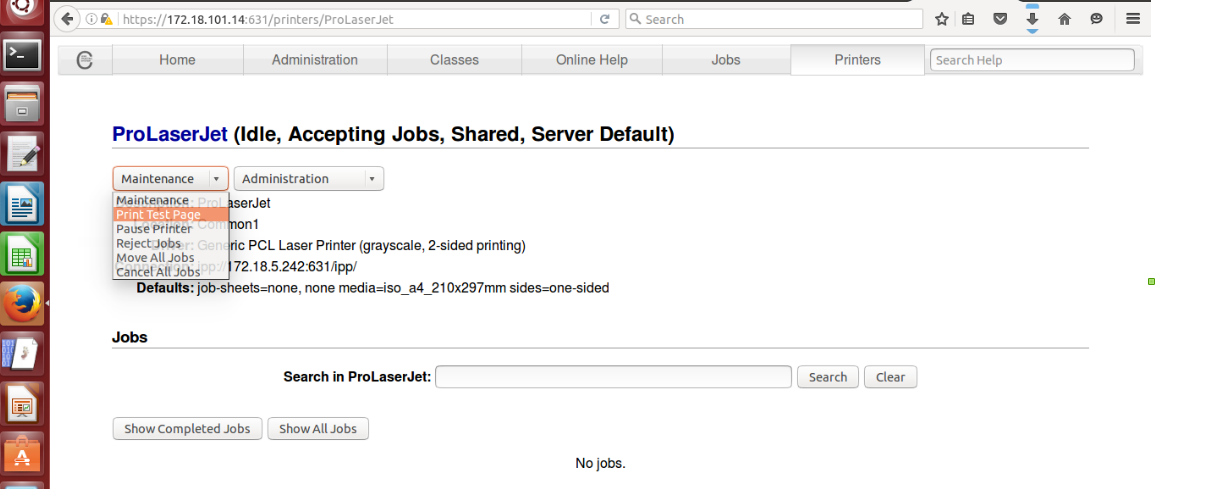
2. Click on “Maintenance” and select “Print Test Page”.
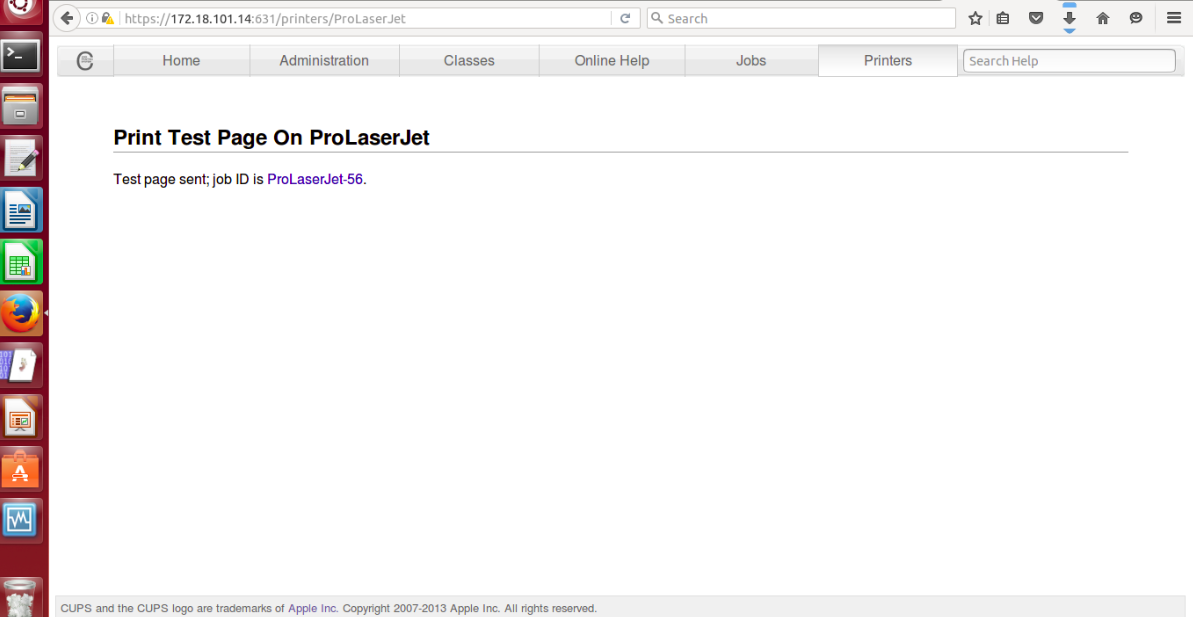
3. Page will say that “Test page sent:”
== CUPS Integration with Samba. ==
To integrate cups with samba we can follow below steps.
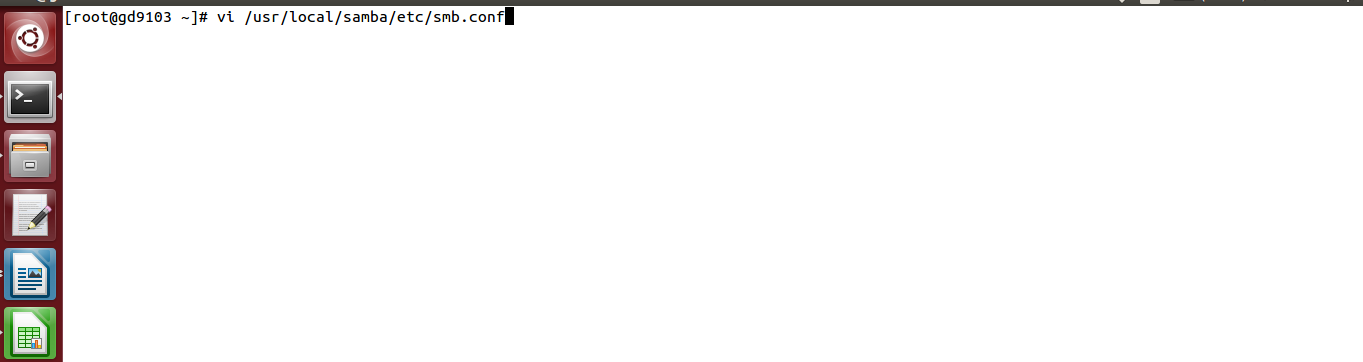
1. Open “/usr/local/samba/etc/smb.conf” file.
# vi /usr/local/samba/etc/smb.conf
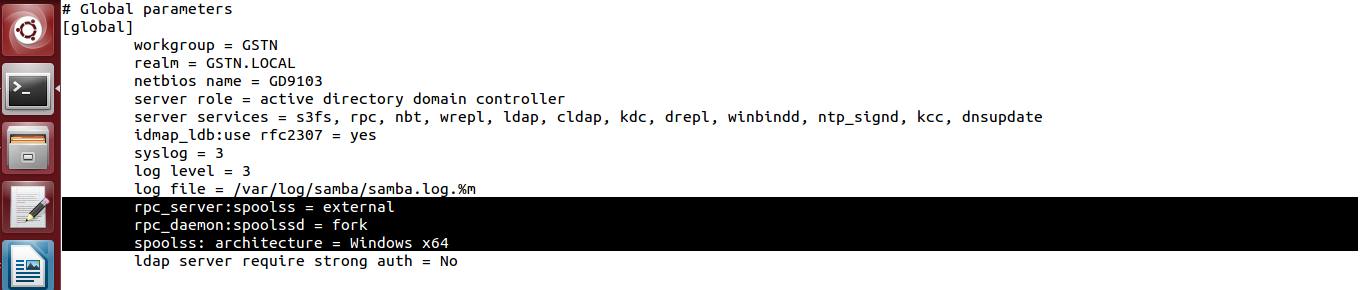
2. Make below entry in smb.conf file in Global section.
rpc_server:spoolss = external
rpc_daemon:spoolssd = fork
spoolss: architecture = Windows x64
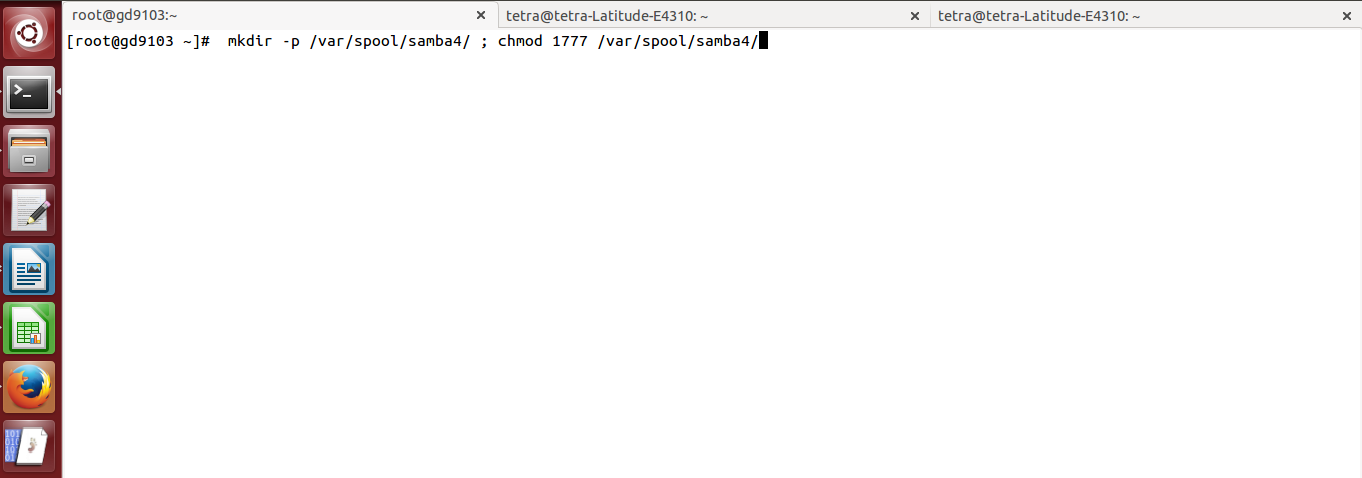
3. Create the Samba spool directory and set permission.
# mkdir -p /var/spool/samba4/ ; chmod 1777 /var/spool/samba4/
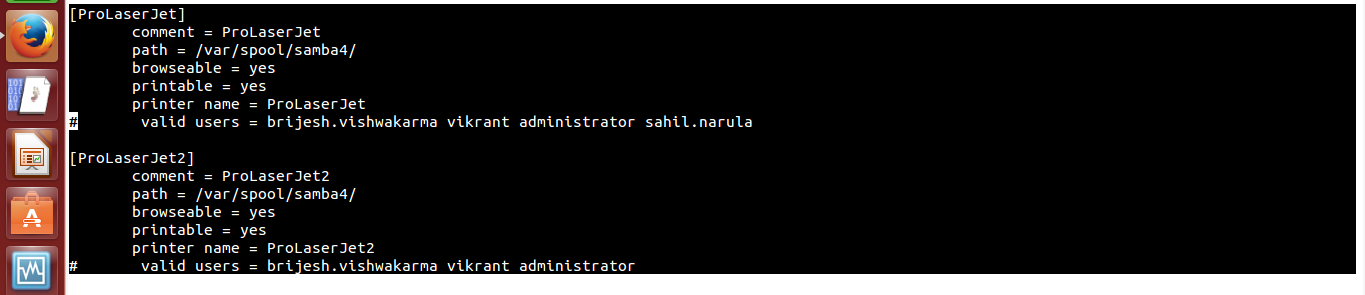
4. Open again /usr/local/samba/etc/smb.conf file and make below entries.
[ProLaserJet]
comment = ProLaserJet
path = /var/spool/samba4/
browseable = yes
printable = yes
printer name = ProLaserJet
[ProLaserJet2]
comment = ProLaserJet2
path = /var/spool/samba4/
browseable = yes
printable = yes
printer name = ProLaserJet2
5. Restart samba service.
# systemctl stop samba4.service
# systemctl start samba4.service



